Day 1 – Creating Your Starter
Ingredients
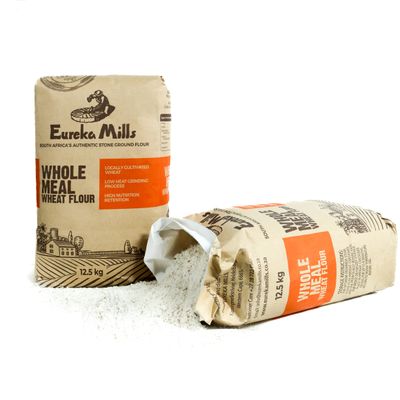
● 60 g (½ cup) Eureka Mills Whole Wheat Flour
● 60 g (¼ cup) warm water
Equipment
● A clean 750 ml glass jar
● Fork or spoon
● Kitchen scale
● Cling wrap or a loose-fitting lid
Step-by-Step Guide
Day 1 – Create Your Starter
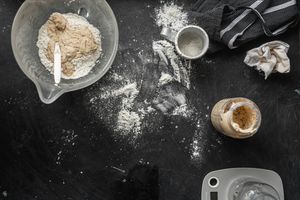
Combine the whole wheat flour and warm water in your jar.
Mix well until smooth. The mixture should be thick and resemble a soft paste.
Cover the jar loosely with cling wrap or a lid and leave it in a warm place (around 21–25°C) for 24 hours.
Tip:
Don't seal the jar airtight. Your starter needs a little airflow while it develops.
Day 2 – Let Nature Work
Today you simply wait.
Leave your starter undisturbed in its warm spot for another 24 hours.
You may notice a brownish liquid forming on top. This is called hooch, and it's completely normal. It's a sign that your starter is becoming hungry and will soon need its first feeding.
Day 3 – Your First Feed
Today your starter receives its first feeding.
Using a spoon, remove and discard roughly half of the starter.
Then add:
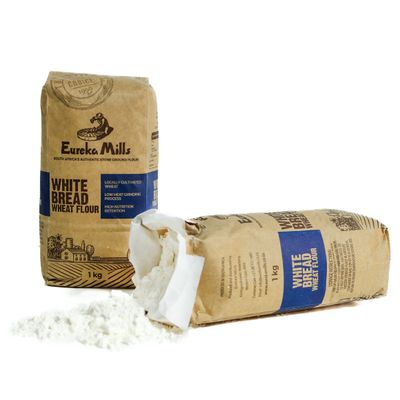
● 60 g (½ cup) Eureka Mills White Bread Flour
● 60 g (¼ cup) water
Mix until smooth.
Your starter should have a consistency similar to pancake batter. If it feels too thick, add a small splash of water until it loosens slightly.
Cover again and leave in a warm place for another 24 hours.
If hooch appears at any stage between Day 3 and Day 7, simply pour it off before feeding your starter.
Days 4–6 – Feed Daily
Repeat the Day 3 feeding routine each day.
Discard approximately half of your starter before feeding it with:
● 60 g Eureka Mills White Bread Flour
● 60 g water
During these days you'll begin noticing:
● Small bubbles
● Increased activity
● A pleasant yeasty aroma
● The starter slowly increasing in volume
These are all signs that your starter is becoming healthy and active.
Day 7 – Happy Birthday!
Congratulations!
By now your sourdough starter should have:
✔ Doubled in size after feeding
✔ Plenty of bubbles throughout
✔ A light, airy texture
✔ A pleasant, slightly tangy aroma
A healthy starter should smell fresh and slightly sour—not unpleasant or rotten.
If everything looks good, transfer your starter into a clean jar and it's ready to use in your favourite sourdough recipes.